


Phew, finally! After many weeks fighting, I seriously believe that gnomes exist. Ones which live inside of electrical devices, and they try to ruin your life. But after all the headache, I believe the fight was worth it! If you want to skip the pour of my recent misery with softwares, skip straightly to the My New┬ĀRAW Photo Studio.
In Finland we have this general abbreviation “ATK” which means something like “Automated Data Handling“. If you ask me, the word “Automated” should┬Ābe removed as a misleading adjective. Here is why!┬ĀLike said, I bought the new computer for myself, the Macbook Pro. I really enjoy to use it; it is stable, powerful, I have learnt to use the OS X, but I have had some major problems with software! First, it took a while to find and install the stable, old version of iMovie I needed for making video compilations about my adventures, like this one. I read many complaints about the newest iMovie and tried to avoid future problems beforehand. BUT, for some odd reason, Apple doesnŌĆÖt want to distribute certain versions of its apps. Not even if IŌĆÖm willing to pay for them! I had only one choice to solve this problem independently; update to newest, unstable OS X, then install the unstable iMovie for it and simultaneously get the license key, then downgrade to the oldest possible OS X and download an old available iMovie, and finally reupdate back to the current OS X with both the iMovie license and the ŌĆØroot programŌĆØ for updating it to the iMovie version I want. Quite complicated huh. Apple offers some of its old apps through the App Store, but not the stable iMovie I wanted for this computer. I have seen many people complaining about these same issues, but luckily I got the correct iMovie version from my friend after buying the license. After this installation-comedy-show, it was joy to edit video and be creative, not to fight with an unstable PC as I used to. Macs seem to be great computers, but the Apple software policy sucks, at least in this case.
Second, I though that it is also time to move on from taking JPG photos to RAW photo editing! Everything else went quite nicely, but now it took a lot of resources┬Āto find a good photo editing software, solid workflow to develop RAW photos, and finally update my web galleries. I tried many different softwares and installed multiple plugins for them, and was amazed how each of the setups lacked some fundamental features. For example, with one program the RAW developing┬Āworkflow┬Āwas discontinuous, because at some point┬ĀI needed to export photos as TIFF files for making lens corrections in an external plugin. The lens correction is one of the first things I want to do for my RAW photos, and I don’t want to end the non-destructive editing at any point! I searched a lot and made experiments, until I found a fascinating┬Āsoftware, Adobe┬«┬ĀLightroom┬« 5! I will talk about this amazing software later. Then I needed to update my old web photo galleries to more functional and better looking ones. This process took another couple of weeks, and you wont┬Ābelieve how difficult the change was! If you go to the┬Āhttp://www.mynortherndiary.com/diary you will see the two hovering gallery links in the left sidebar (in mobile devices they are over the header pane as static links). Those links were quite easy and nice to do, but I also wanted to update my previous gallery database to more professional looking NextGEN gallery. I did not find any easy way to migrate the >1000 photos from the old database to the new one, even though the photos were already in the server! As┬ĀI saw that even website professionals were complaining about the same issue, I decided to do something radical; a surgical operation. I made a backup of my website, then broke the site and recoded it to show the old photos for visitors in a certain manner. Then I made a “robot” which entered my┬Āwebsite and downloaded all the photos into my computer. Then I restored my webpage and reuploaded all the photos back to my server, so that the NextGEN gallery can manage the photos from the beginning. It was a big relief to see my photos in the new gallery and my website functioning again after all the fighting.
Here are the interactive logos I made for the new photo galleries. In the Golden Photo Gallery I will put only the best photos, and keep the quality high. In the Golden Photo Gallery one can find the new RAW photos as well as some older JPG photos I have managed to rescue with the Adobe Lightroom. Other old JPG photos are put in the Silver Photo Gallery with the new, so called Silver quality RAW photos. Though, because the categorizing is a highly subjective issue, the photos might sometimes change the gallery when I start disagree with myself, depending on the current mood and day ¤śĆ The floating, animated links┬Āare┬Ānot available in mobile devices, instead they can be found in the header pane as static image links..
My New┬ĀRAW Photo Studio!
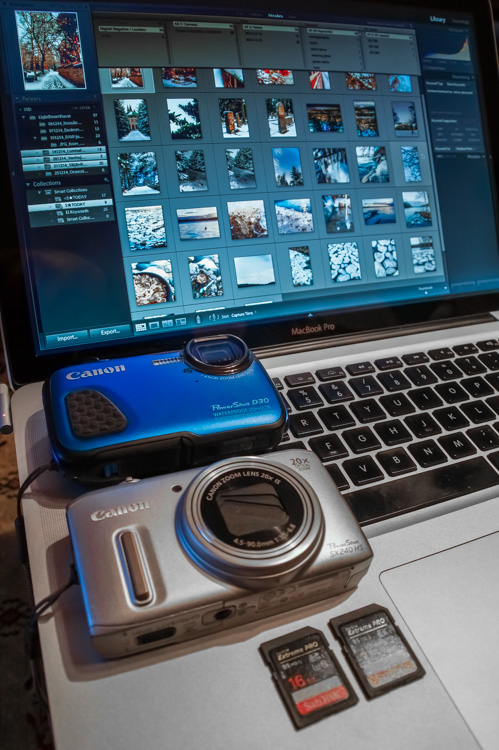
My new RAW photo “studio”, only the tripod and battery chargers are missing ¤Öé
So. I have ruined many nice photos by letting the camera processors to decide how the photos should be handled.┬ĀCanon cameras produce nice JPG photos, but because of the data packing, many important details are thrown away, the dynamic range is cut aggressively, awful white balances are fixed into photos, and so on. Because I still want to use the handy compact cameras while messing around in forests and lakes, it is even more important to rip of every bit of information the CMOS sensors will output. So, I hacked my Canon PowerShot SX240 HS (the cutie with the amazing 4.5-90mm range of focal length) and the D30 (the underwater blue ninja) to make them automatically run the CHDK RAW presets I made. Now I can shoot 12 bit RAW photos, or better said save DNG files, with both of my compact cameras. The JPG photos use only 8 bit for each RGB channel, meaning that one can represent ((2^8)^3) = 16.8 million different colors with a such file. Quite much huh, but humans have one of the best mammalian eyes for resolving different colors and tones from each other. By editing an 8 bit JPG photo, one will quickly notice how the image degrades by the absence of tones filling the gaps between the rough colors in the JPG. As an example, see the following two photos.
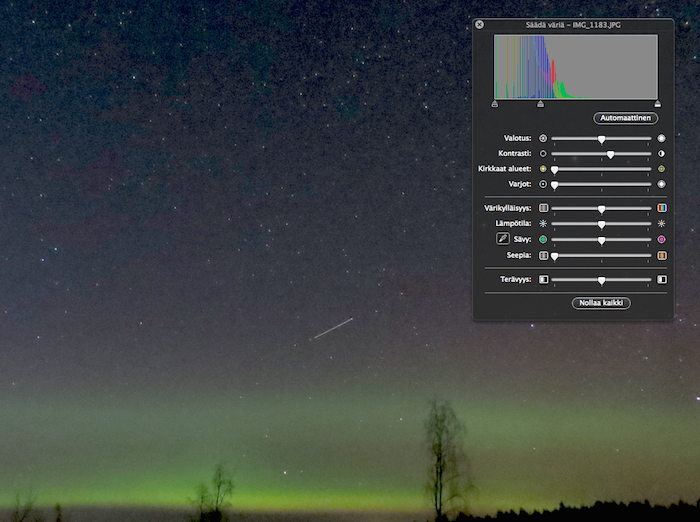
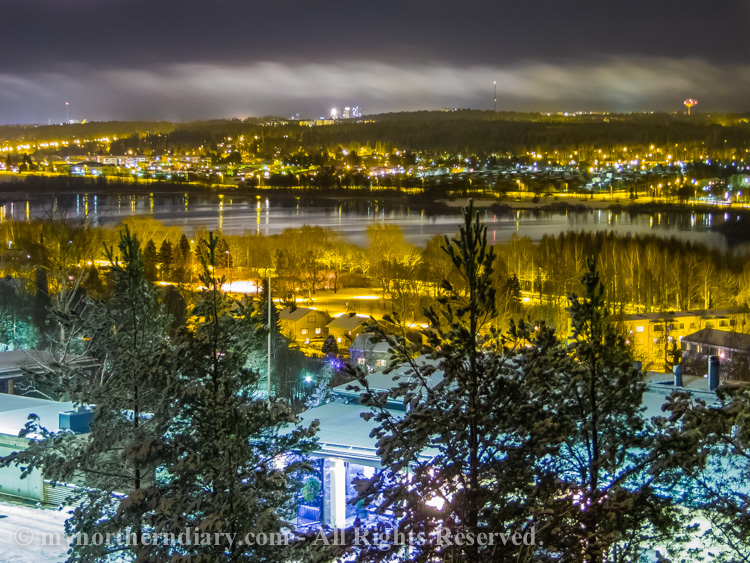
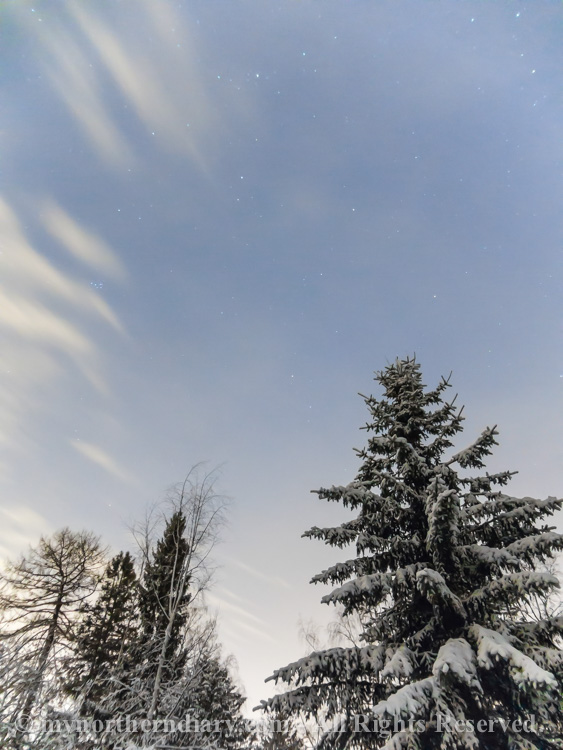
I took these screenshots from Apple Preview just to show you the histograms of a couple of photos. I tried to extent the histogram of this nocturnal 8 bit JPG photo without of luck. Even after a little tweak, the histogram breaks into many pieces separated by gaps. The sky itself is highly grainy both in luminance and color, and stepwise artefacts can be seen; the sky is composed of rough steps of colors, not continuous flow of tones. The beautiful northern lights were captured into an ugly JPG.
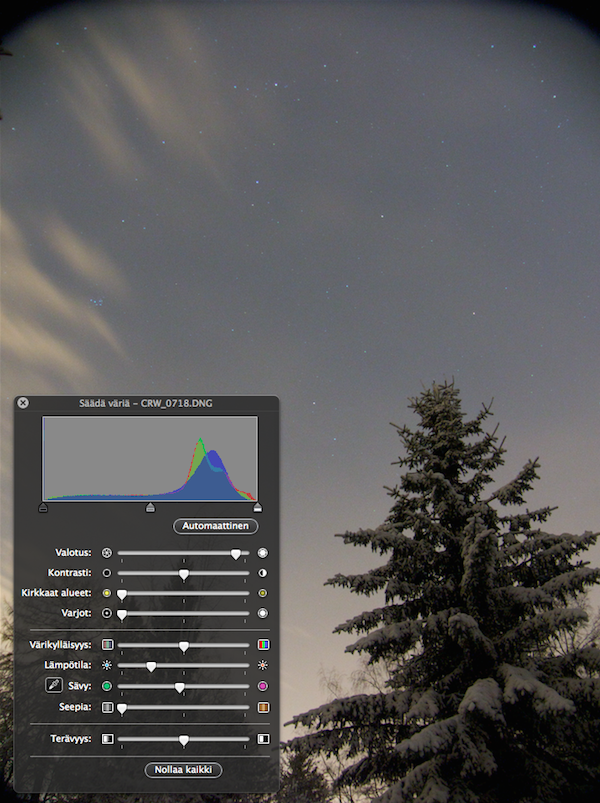
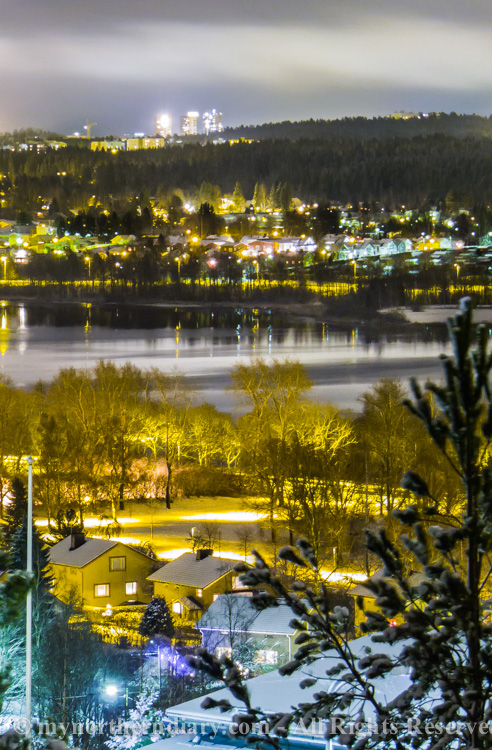
This photo was taken as a 12 bit RAW photo, meaning that all the data the CMOS and camera processor could ever handle is packed nicely into a DNG file for later editing. Even after expanding the histogram as much as possible without clipping, the histogram is still continuous. Small color and luminance noise can be seen because of technical imperfections in the camera, but these are easy to correct with the Adobe Lightroom I bought. This is not true for the previous JPG photo which is a hopeless case.
In a RAW photo, saved as a DNG file by the┬ĀCHDK installation I made, the bit depth is 12. When compared to 8 bit JPG photos, I now have (2^12)^3)-(2^8)^3) = 68 703 millions more colors and tones to play with! Now the fine changes of tones blend nicely to each other, and I can shape the histograms without breaking them┬Āso easily. System cameras can usually output even larger bit depths, like 16 bit, but 12 bit is certainly a lot better than the 8 bit JPG photos I used to shoot. There are also other ways to see the truly RAWness of my new photos. Notice the dark corners in the above image. The dark features are the internal parts of the optic casing, not being cropped and removed by the camera processor. The photo has also some lens┬Ādistortions which are hard to see in this certain image.┬ĀUsually, the distortion bothers and needs to be fixed; I will talk about this later. RAW photos are also a lot bigger than JPG files, because they are not compressed by any means. Depending on the amount of details in a JPG photo, the size is usually a couple of mega bytes. Instead, the size of my RAW photos is exactly 19.2 Mb at the beginning. And because the RAW editing is non-destructive, all the changes are needed to save separately, in other words in the XMP meta data rammed inside the DNG files. With difficult photos, including a lot of┬Ādetails and different types of┬Āartefacts to be fixed, I have managed to double the size of my DNG files. But after I’m finished, I’ll just export a smaller JPG photo with all the details I want to preserve, not let the impassive camera processor to destroy my art. Finally, RAW photos do not only include extra mid tones, but the total length of the intensity spectrum is also wider! See the following examples.

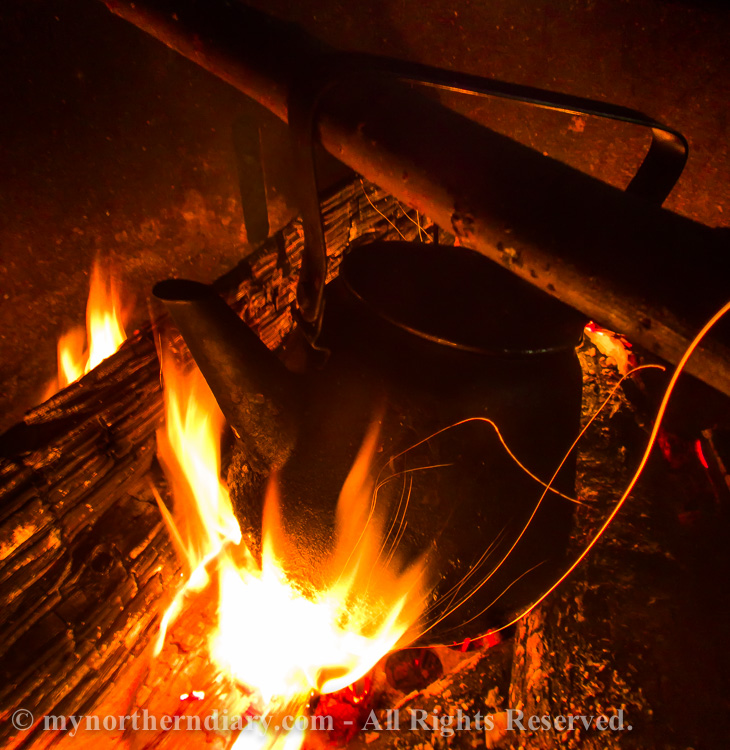
The following screenshots are taken from my Adobe Lightroom 5. Here is a JPG photo taken under difficult circumstances; a sooty coffee kettle on a camp fire in a dark evening. Look at the brightest areas in the flames and compare them with the following RAW photo. Notice also the non-clipped high end of the color spectrum.

Here is exactly the same situation but saved as a DNG file. See the tones of orange and yellow going further in the flames. It is possible to recover these details, because the RAW photos have the same dynamic range the CMOS sensor saved at the beginning. This applies also for the low end of the color spectrum. Thus, one can capture a lot more in the RAW photos than its JPG little cousins!
So, it is now easier to capture my moments in the bigger RAW photos, and preserve more┬Ādetails for the coming JPG files. But because the DNG files are big, I also needed faster SD cards. As I image under difficult circumstances and/or tricky subjects, I usually take many photos one after the other, and later decide which one is the best. This is especially handy during┬Āfree-diving, when I hold my breath and I have only a moment to capture the carelessly swimming fish, simultaneously concentrating on many other things as well. Or when I have to take photos in low light and/or with higher f-number without a tripod, or when the subject is moving. Or when it is hard to say from the small camera LCD, is my subject in focus during┬Āmacro photographing, I might slightly move my camera and hope that the some of the photos will capture the sharp target. Unfortunately, with my old SD cards it took over four seconds to take a single RAW photo, but with the new cards I bought it takes only 1,4s, if the exposure time is negligible. The speed did not increase as much as I calculated, likely because the camera processors are not optimized to handle the CHDK generated DNG files, but at least the SD cards are not the bottlenecks anymore. And now it is quicker to transfer the RAW photos into my SSD, as both of the storages own the optimized, fast┬Āsolid-state architecture.

Here are my new SD cards for capturing RAW photos as quickly as possible. The manufacturer says that in their tests the writing speed is 90Mb/s, but likely because of the non-optimized camera processors I have not reached this saving speed. However, the 95Mb/s reading speed is a nice feature when I transfer my photos from the SD cards into my Macbook pro.
I previously mentioned about the lens distortions seen in the RAW photos. Adobe Lightroom is capable of correcting all kinds of optical distortions automatically, if┬Āthe lens correcting profiles (LCP) are available for the used camera-lens combinations. Because my cameras are not designed for RAW photographing, Canon does not provide these profiles, why I needed to make them by myself. Luckily, Adobe provides an awesome free software for this purpose: Adobe Lens Profile Creator. One just need to print a black and white grid on a piece of paper, and image┬Āit with different camera setups. After importing the imaging set, the software outputs an LCP file which can be imported into Lightroom. I used three different focal lengths for each of my camera calibrating sets, and the program interpolates all the rest values between the used settings. So, if I open a DNG file in my Lightroom, I will just press a button and the lens distortions are vanished, no matter what focal length and┬Āwhich of my cameras┬ĀI used! The┬ĀLens Profile Creator can also generate parameters for correcting vignetting and chromatic aberrations, but I want to make these corrections by myself. I strongly believe that the type and amount of chromatic aberration depends on the ┬Āprevailing circumstances, why I want to determine the amount of correction intensity for securing the real details in my photos. And in some cases, vignetting can be intentionally used for┬Āenhancing the central parts of photos, and make slightly dramatic effect by “framing” the image.
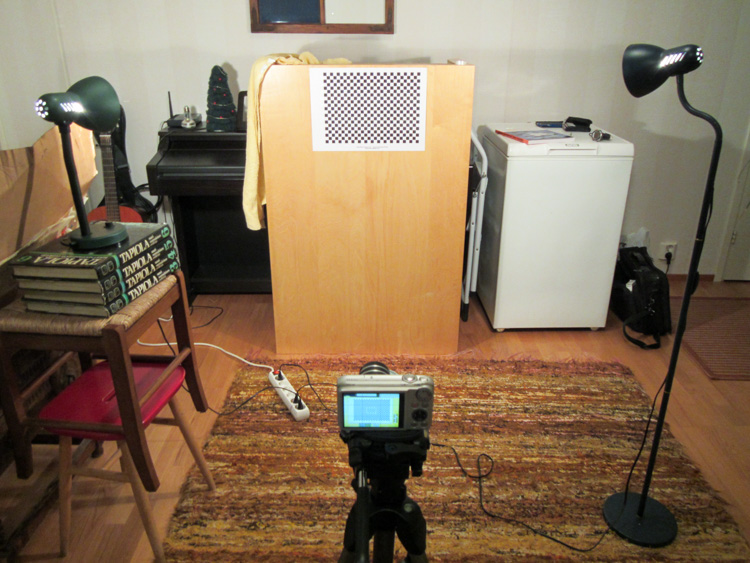
Here is my imaging setup when I made the lens correction profiles. I used only three different focal lengths and let the Adobe Lens Profile Creator to interpolate the intermediate values in the LCP files.
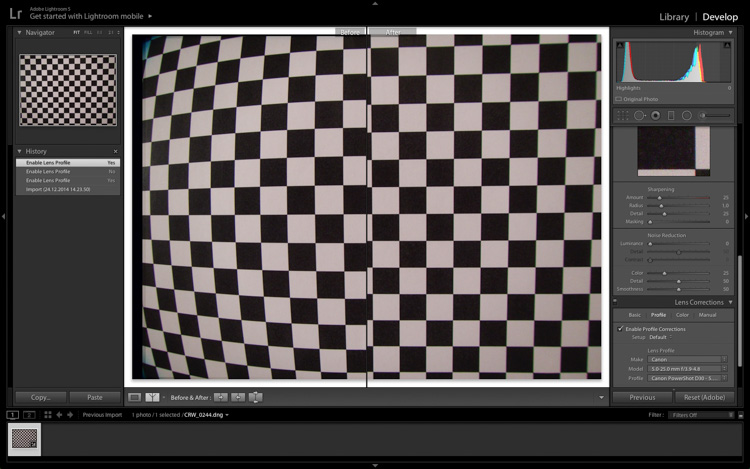
In this view, you can simultaneously see the untouched photo (left) and the corrected version┬Ā(right). After importing a photo in Lightroom, I just need to check one box┬Āand the Lightroom will recognize the used camera and focal length and makes the automatic lens distortion correction. As it can be seen from this image, the initially bend grid becomes straight as it should be, automatically. Awesome!
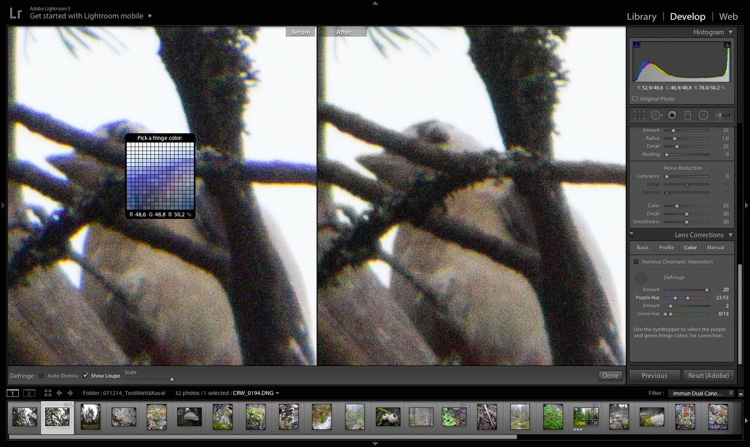
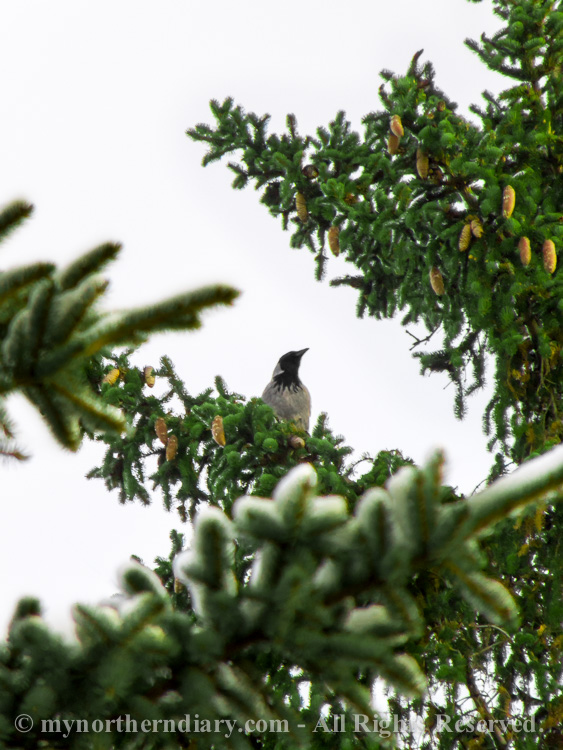
This little woodpecker is a little bit violet, why I need┬Āto correct the chromatic aberration. And I want to do it by myself. If the correction is too aggressive, the real color details┬Āwill┬Ābecome damped. However, especially in RAW photos taken in a forest, the color balance can be severely biased, just because of the chromatic aberration! In many forest photos┬Āthere┬Āare a lot of branches┬Āagainst the sky, making a lot of high contrast interfaces. Instead of being green, the canopy might be strongly violet. But thanks to the Lightroom’s chromatic aberration tool, after one click most of the artefacts are vanished! The correction intensity and the range of aberrated colors can be fine-tuned with the sliders if needed, for avoiding the lost of real color details.
Human eyes are amazing. At an instant moment, at least in normal light, our eyes can pick up every detail, from the darkest spots to the brightest details in our sight. And our brains can quickly process this huge amount of data and give us a vivid, detailed, and living understanding about our surroundings. But photographs are unfortunately quite flat. Every photo is static set of pixels and they need some work to make them alive again. For most of the cases, photo editing┬Āmeans for me the removal of┬Āthe technically restricted camera from my photos, from my memories, and let the photos flow into the viewers brains like the original scenes did. By the aid of RAW photos and the tools in Lightroom, this is easier than before.┬ĀAnd Lightroom is not only a good program for the non-destructive RAW editing, but I have also used it┬Āto rescue some of my older JPG photos as well! That is why┬ĀI would like to show you┬Āa couple of amazing features found in the Adobe Lightroom 5, which makes it joy to recover photos!
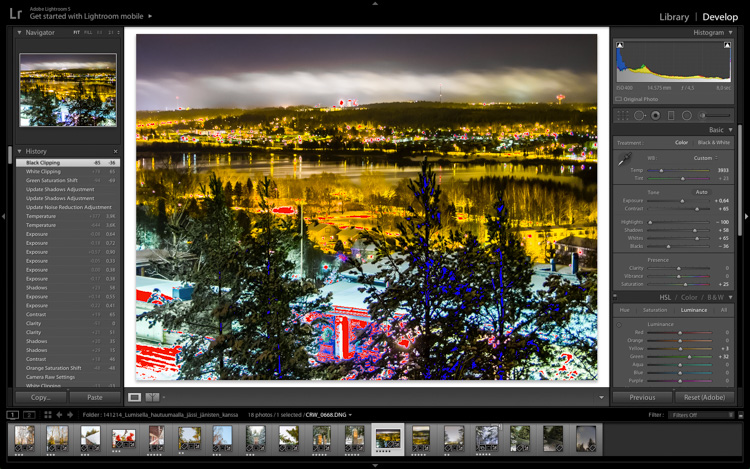
This is a quite ordinary, but still important tool, the Clipping view. In a nutshell, it shows the areas which are going to be clipped off (details are lost) if I would save the DNG file as a JPG with the current settings. By pressing J key, I can quickly toggle the view on and off.
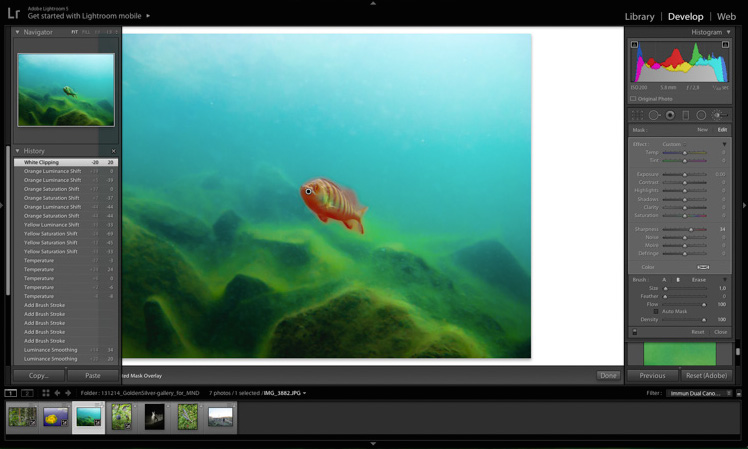
Here I’m rescuing an old JPG photo, taken underwater a couple of years ago. The perch is slightly blurry, even though the day was bright and water was almost crystal clear. If I don’t want to increase the noise in the background by unnecessary sharpening, I can select only the perch and enhance it a little bit. After the sharpening, the perch pops out nicely from the scene as it used to. And if I will later regret the enhancement I made, I can choose the same brush strokes and change the applied adjustments on them. If I need to follow my workflow and see the evolution of my photo step by step, I can scroll the adjustment history up and down seen in the left-side pane.
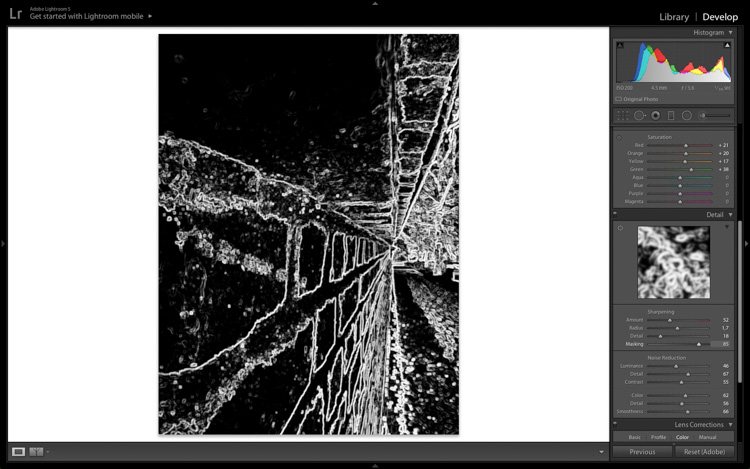
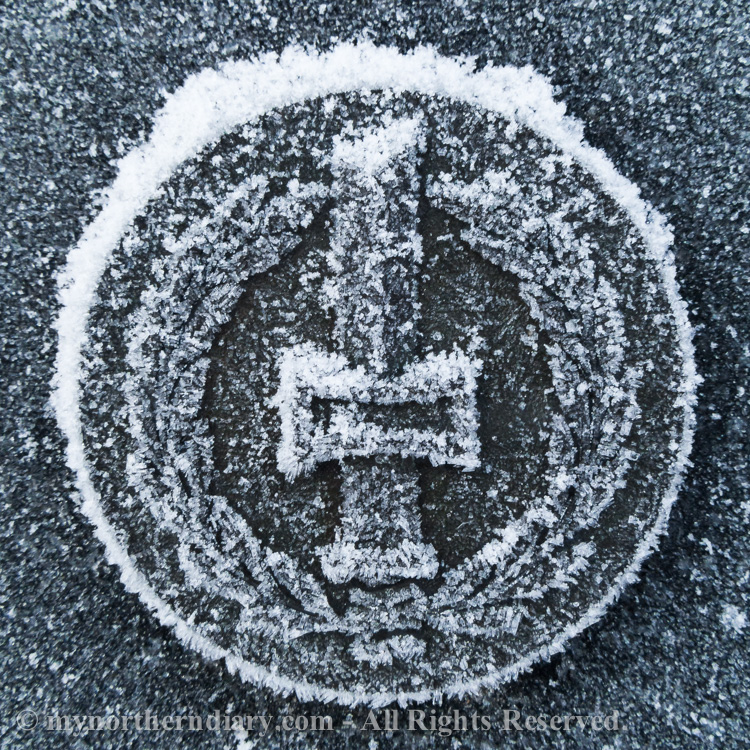
If I want to sharpen my photo in general, I can quickly select the interfaces to be sharpened by using the high contrast viewing mode. As I slide the sharpening Mask slider and hold the Option button simultaneously, Lightroom shows the modified areas in white, and untouched areas in black. For example, in this RAW photo only the edge areas of the tiles are sharpened, and only some of the internal details. Noise is not being increased in the whole photo. Quick and intuitive I say.

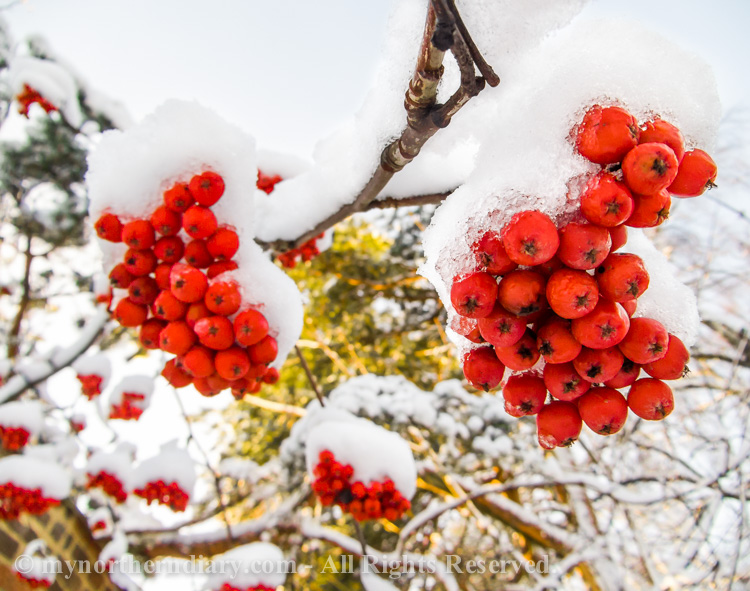
Like earlier, this photo is divided into two parts. The untouched RAW photo lies in the left-side, and the edited version is shown in the right-side. This viewing mode can be easily toggled by Y key, which is a great tool for seeing, in which direction the photo is going to. Second, I will also show another intriguing tool in this image, the automatic color selector. In the down-right corner there is this <o> tool, shown in the vertical orientation. As an example, with the tool I can point the unnaturally pink colored cranberries, and by dragging correct the hue┬Āback to the original red! In addition to the correction of hue, I can also change the saturation and luminosity of the specific chosen colors.
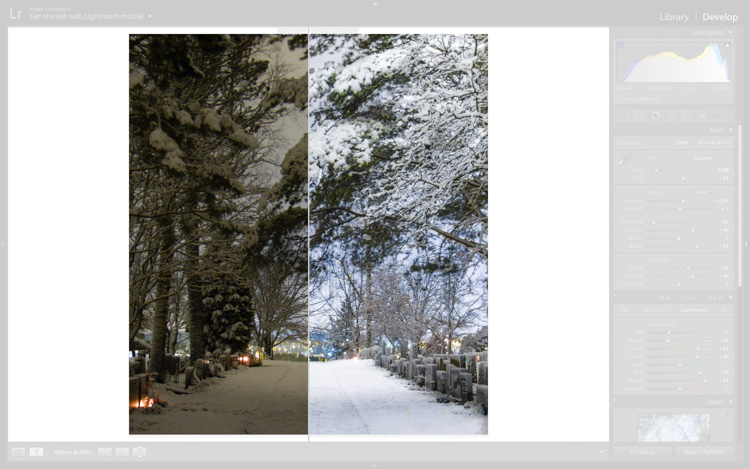
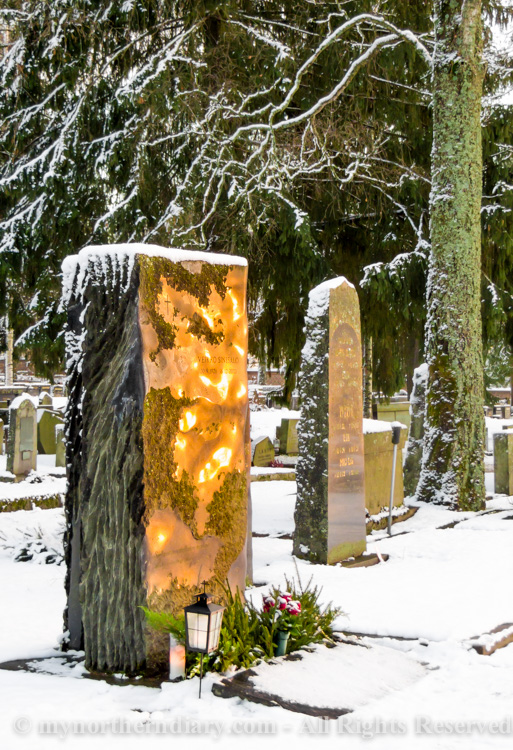
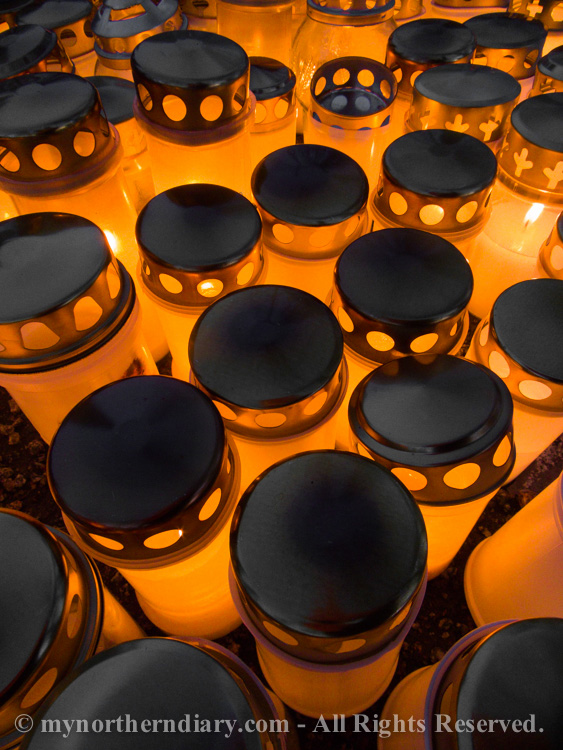
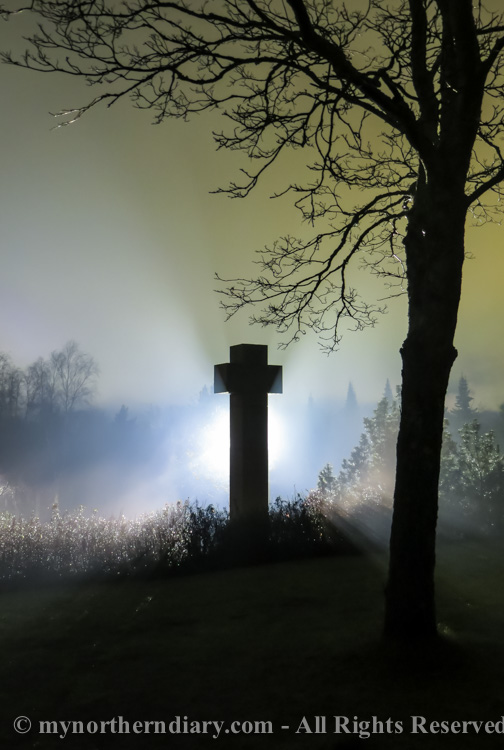
Here is again a before-and-after view of another photo.┬ĀA nocturnal, snowy graveyard. The sights were cool and┬Āreally vivid, but the untouched photo is lame. After some adjusting, the scene becomes alive again. I also used the Lights Dim mode, toggled by the L key. It is a nice feature for giving the emphasis for the photo itself, but still keep the faded tools active. Photos can also be viewed in full screen by toggling them with┬Āthe F key, but in this mode the tools become inactive. Only the functions behind the shortcuts can be used in the full screen mode, like the 5 star rating by pressing number 5, etc.

In addition to visual enhancements, one needs to add keywords for helping Google and other search engines to index the published photos. In the lower pane, you can see the spray can tool. If you pick it up, you can quickly “spray” the keywords onto multiple photos for changing the metadata. Handy! Oh, by the way. After I downloaded this plugin for my Lightroom, it is as easy as pressing a couple of buttons for exporting┬Āmy photos straightly into the NextGEN galleries in WordPress. But be aware that the photos in NextGEN galleries might not become indexed by Google as such. For me, this is not a big problem, as I usually make a parallel WordPress post when I’ll update my galleries.
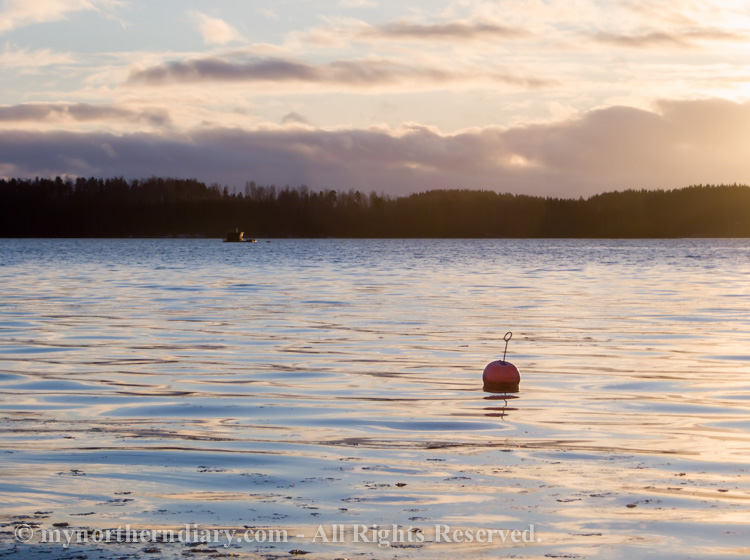
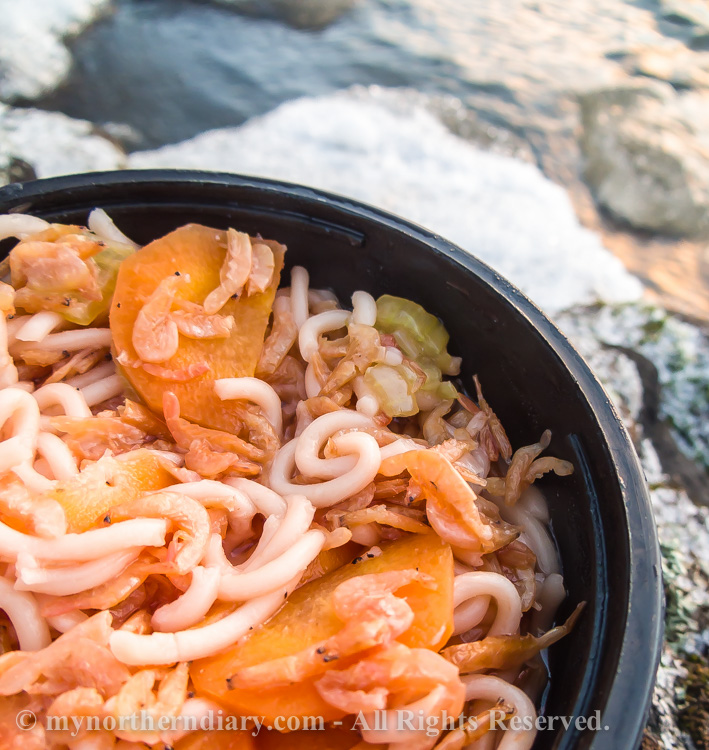
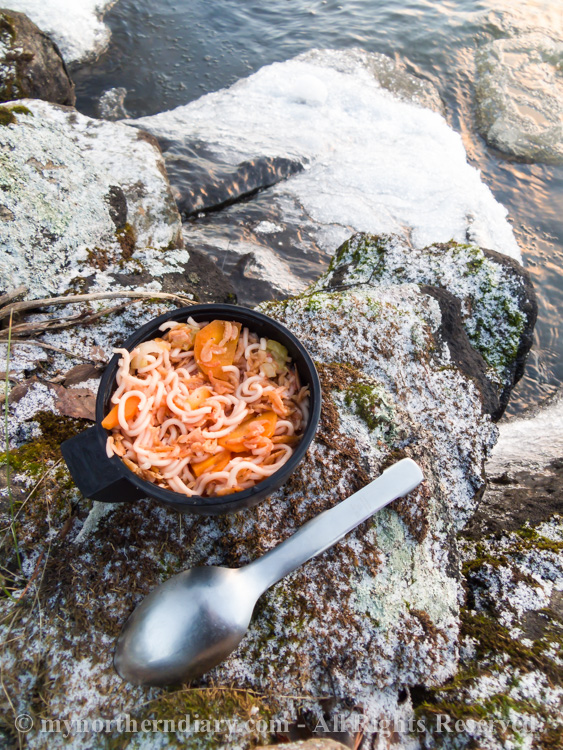
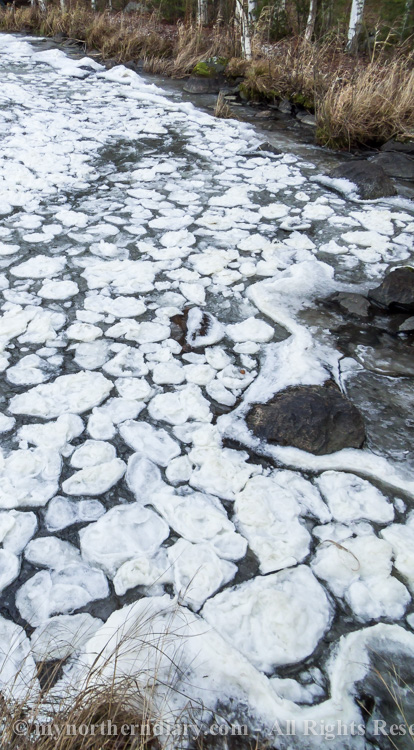
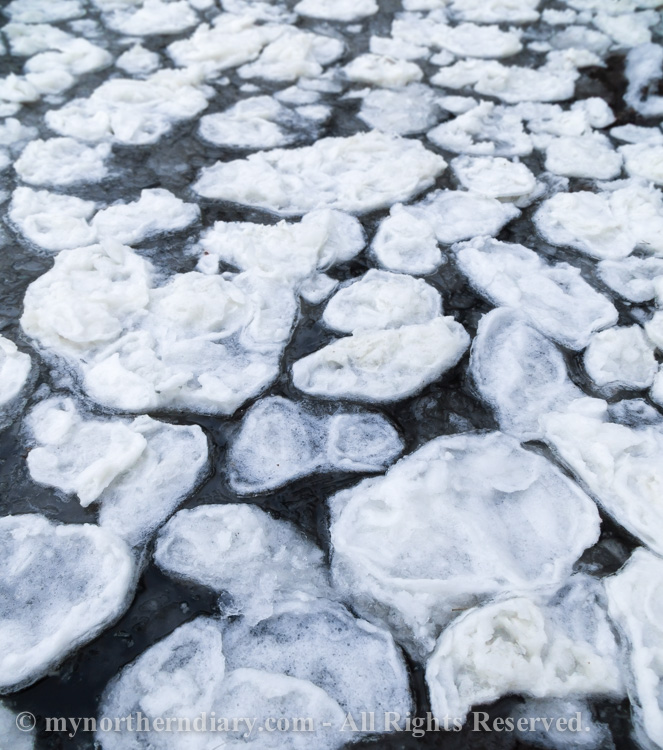
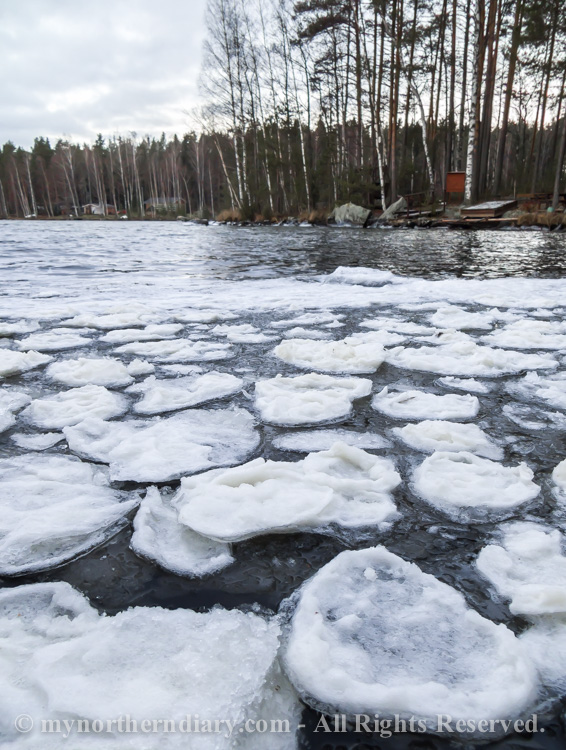
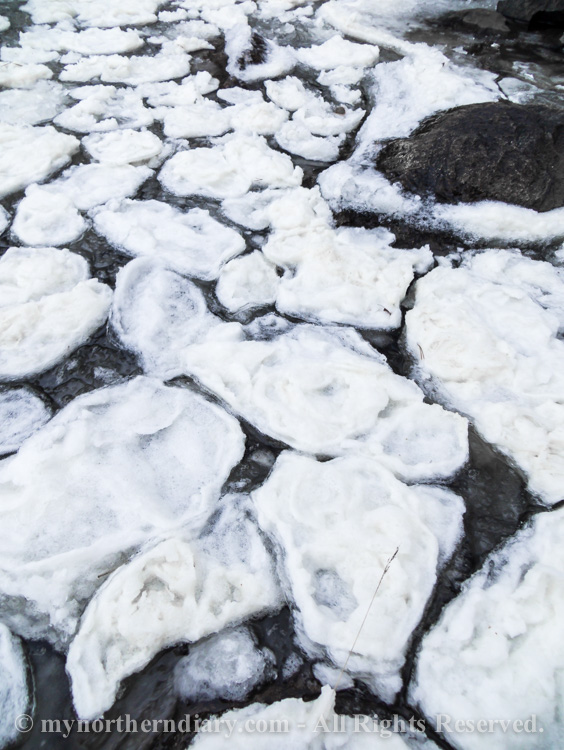
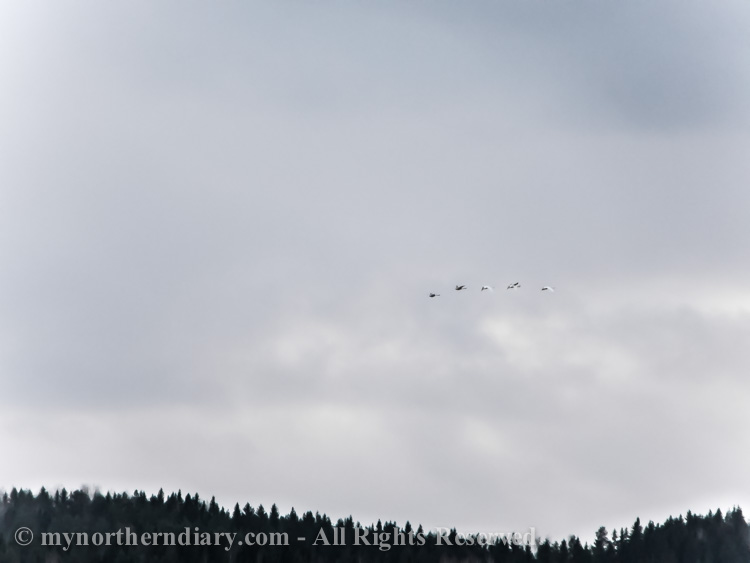
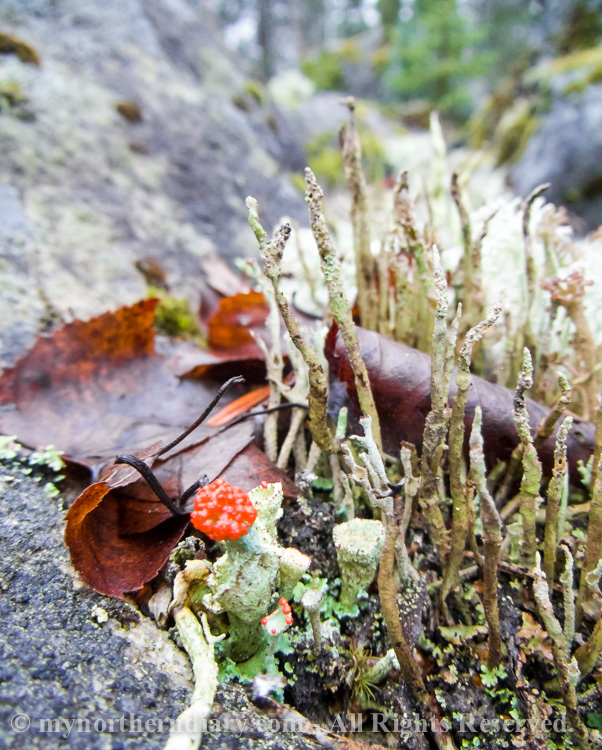
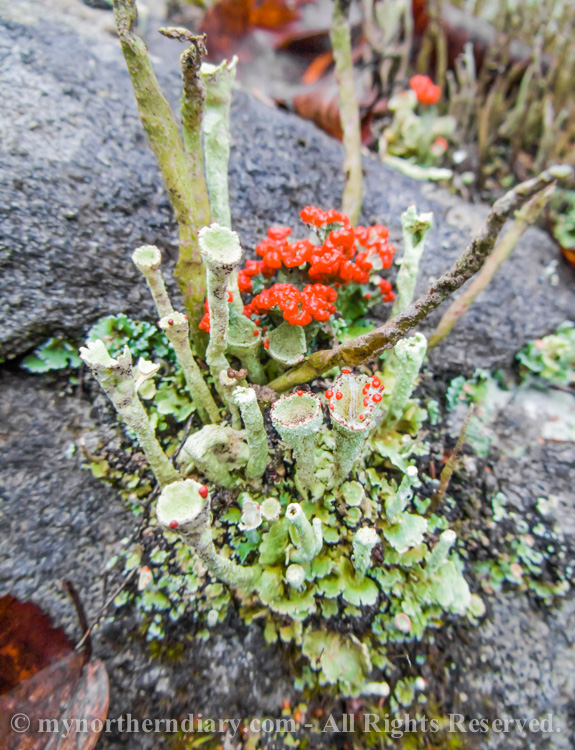
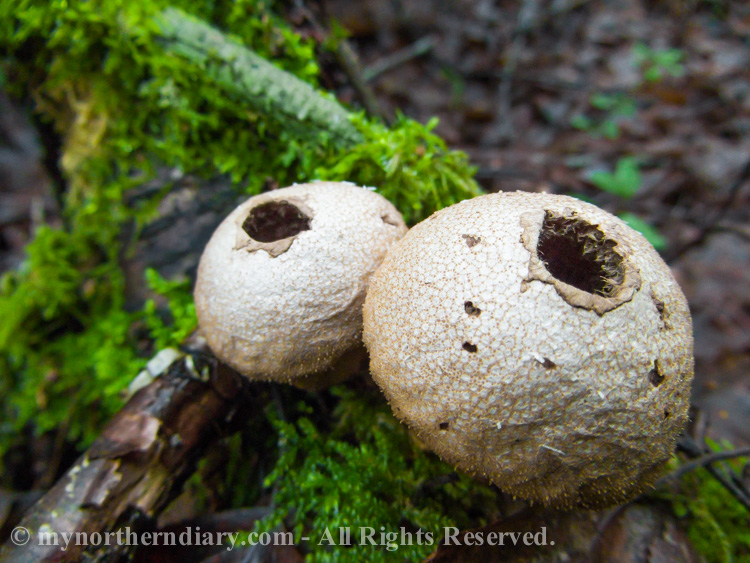
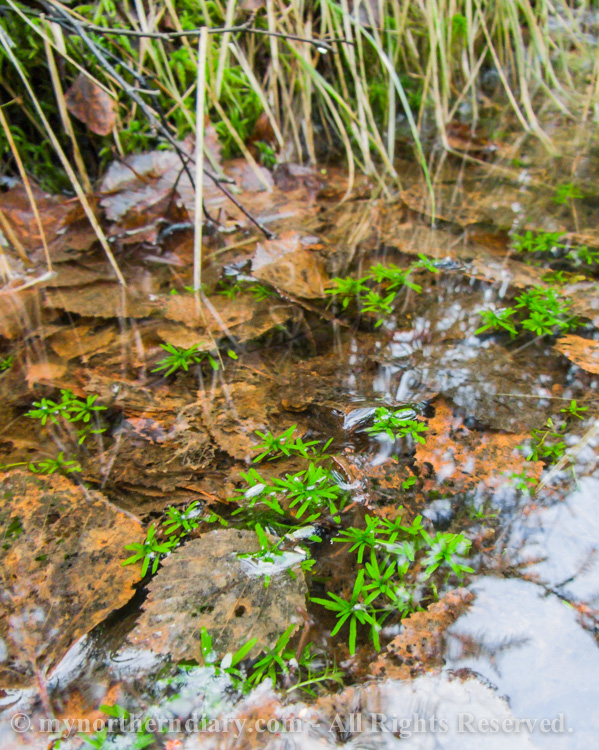
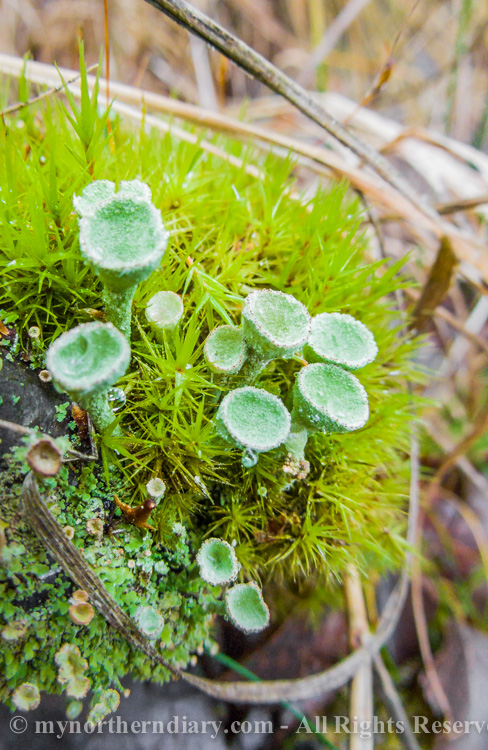
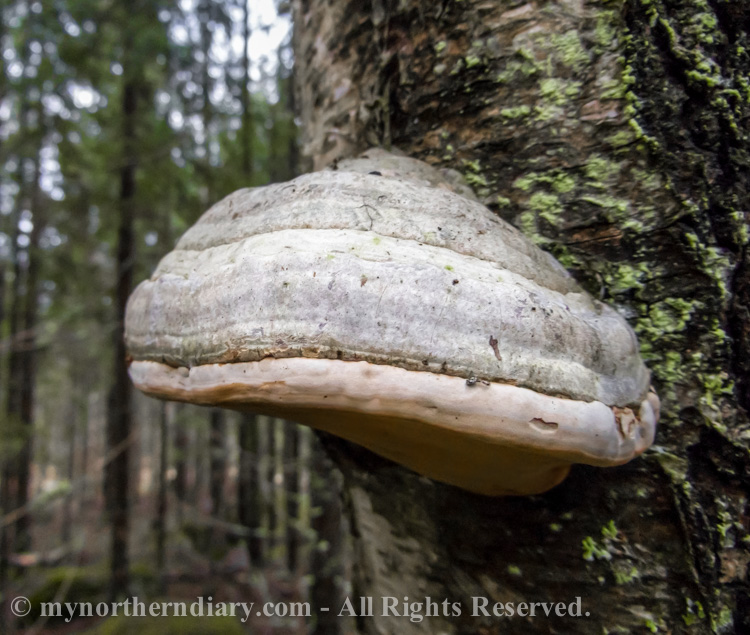
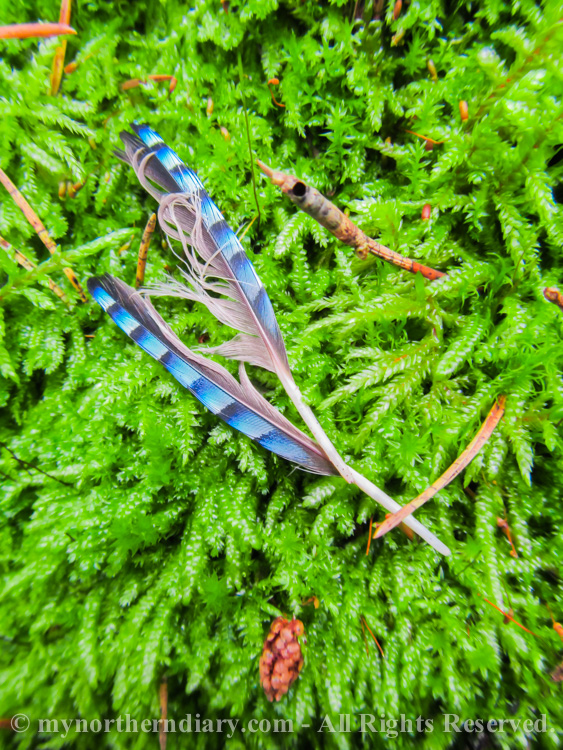
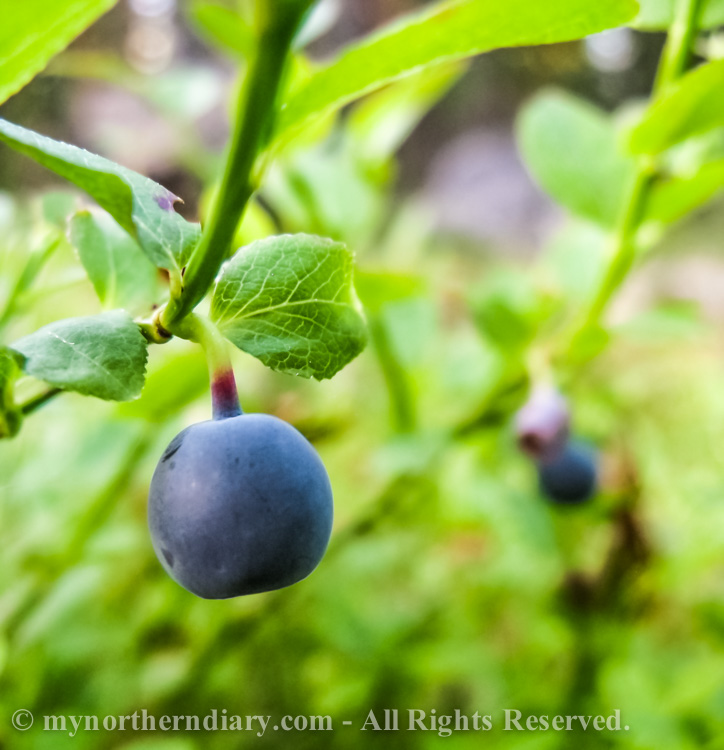
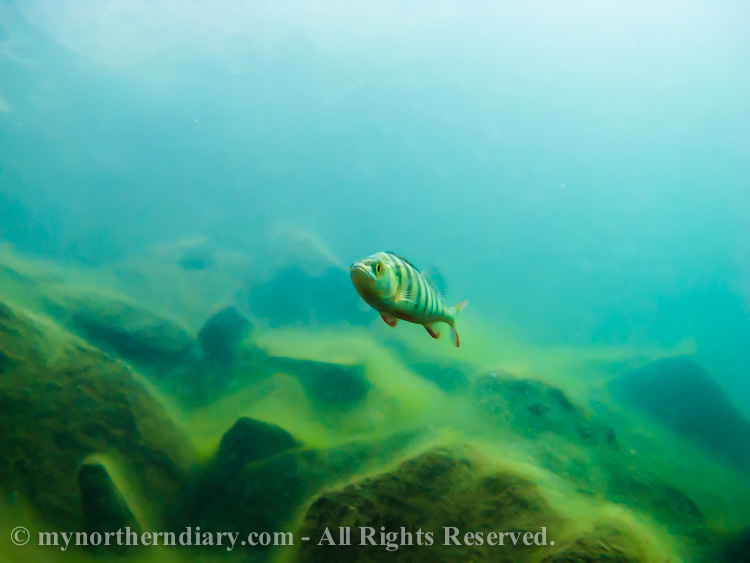
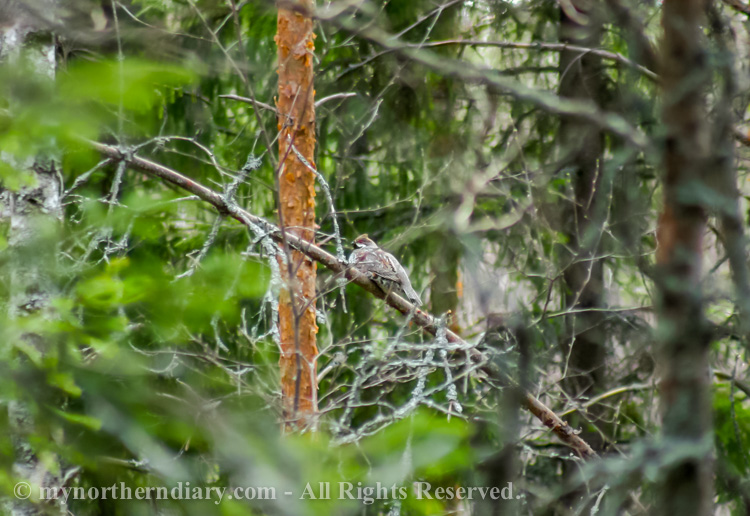
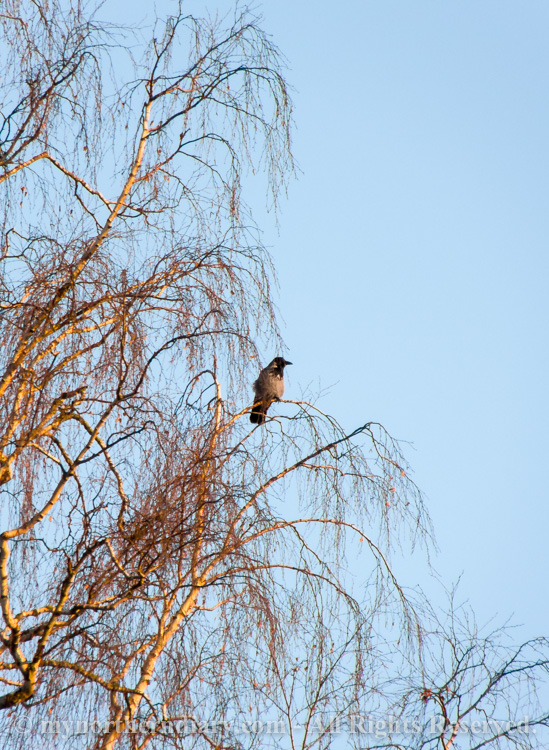
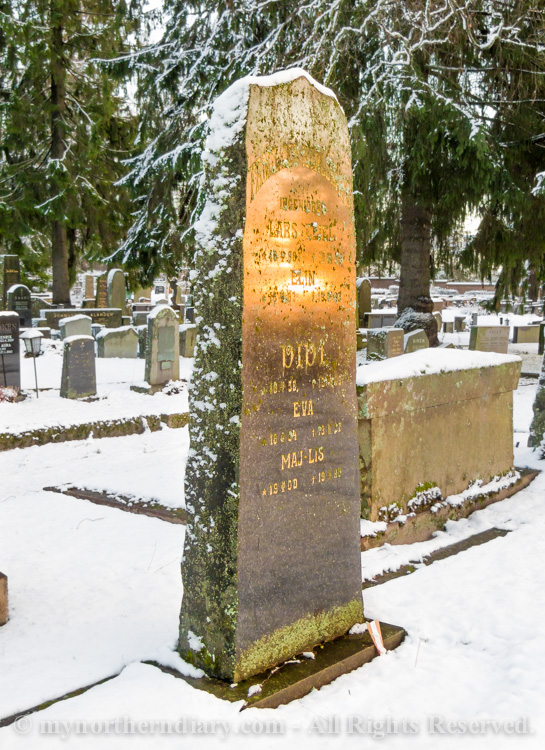
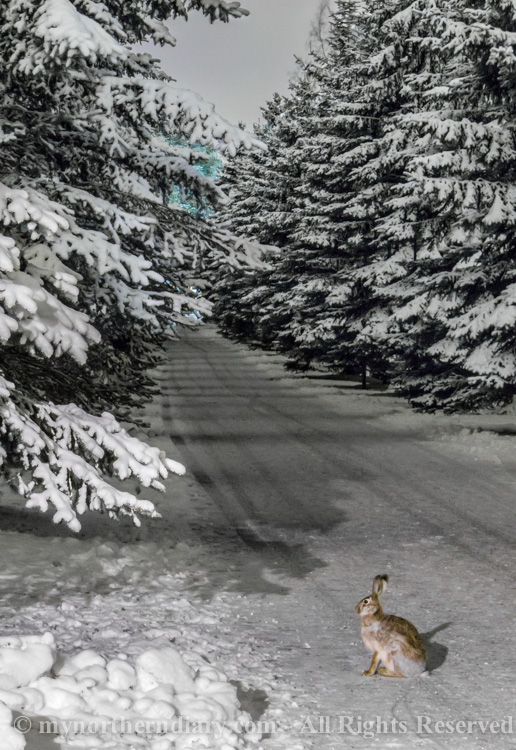
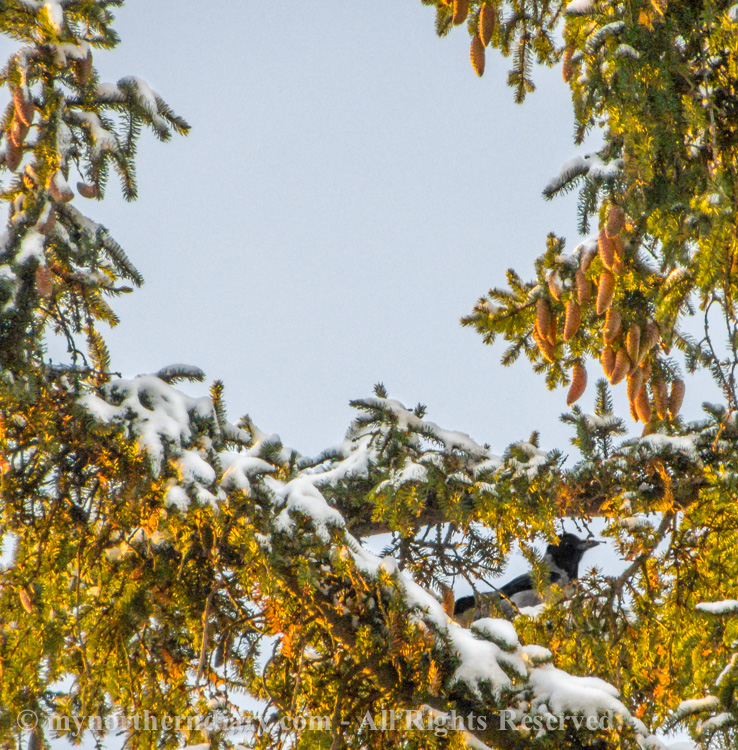
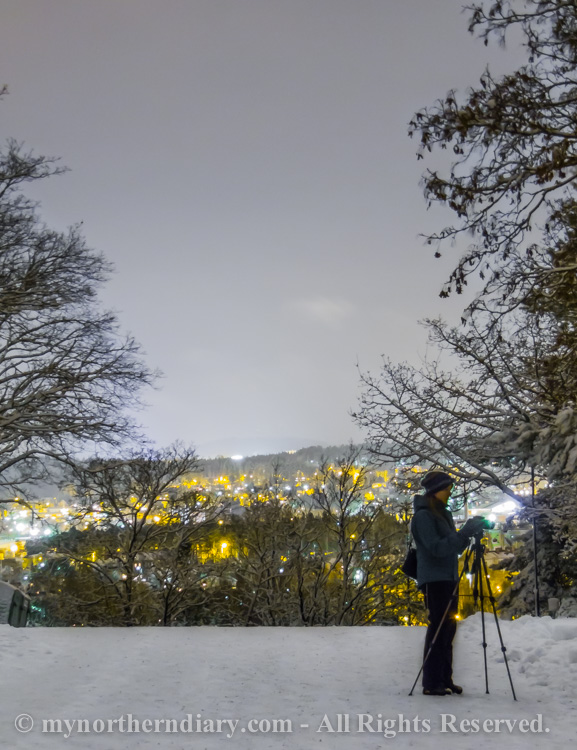
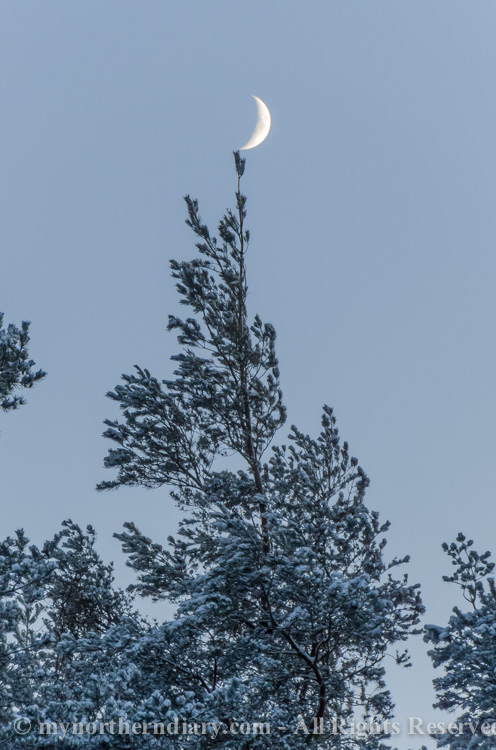
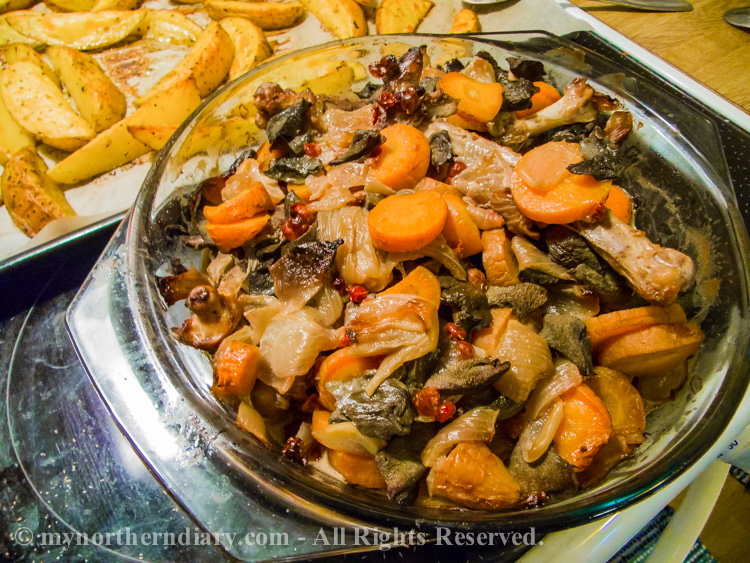
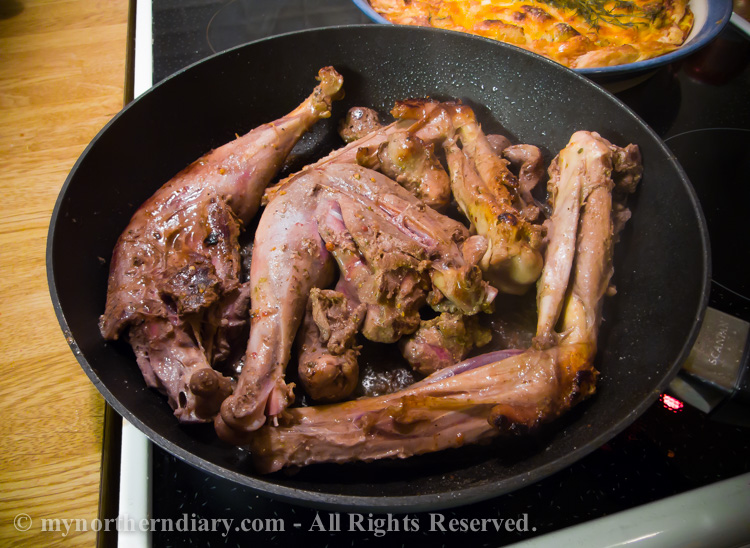
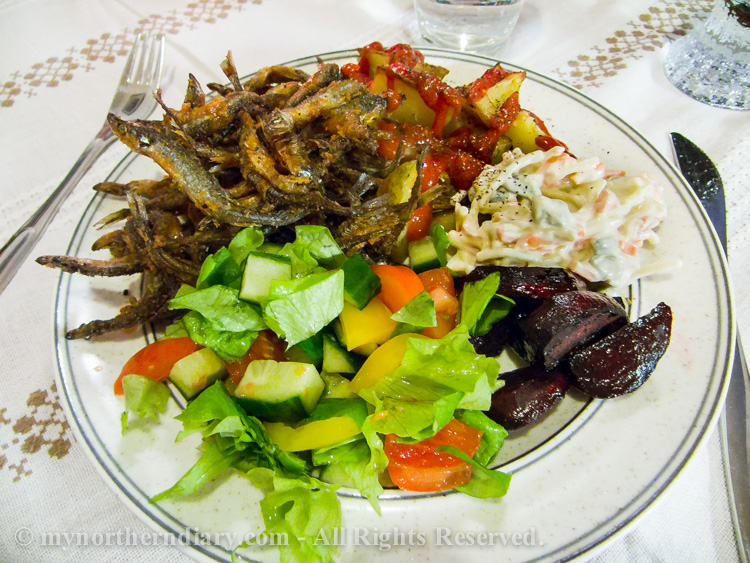
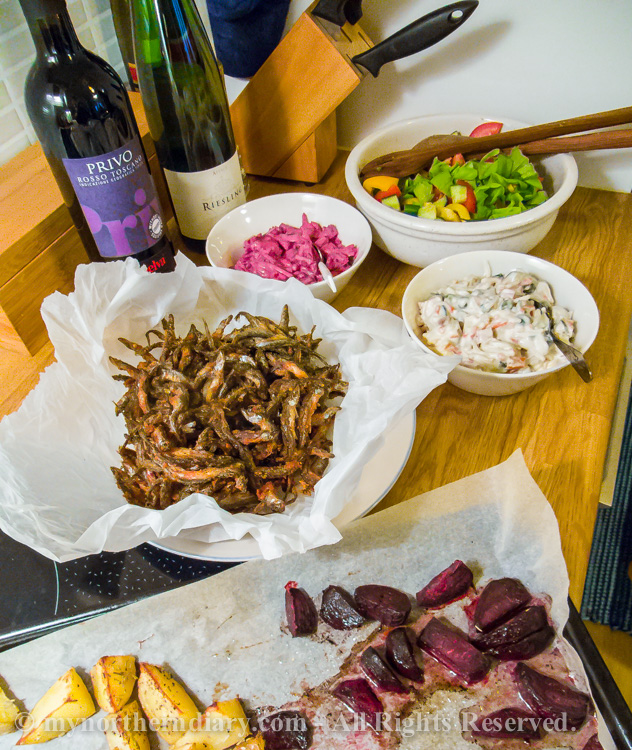
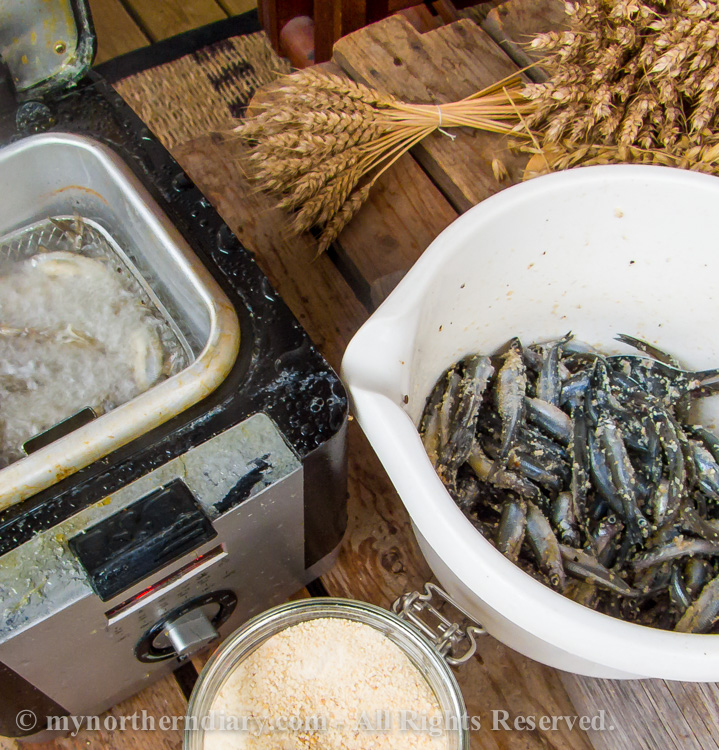
And here is a bunch of photos I haven’t published yet, because I have┬Āfought┬Āwith the evil gnomes for so long. Now it is time to be creative again, enjoy! The photos are in random order. You can look at the Silver and Golden galleries to see, how I categorized these shots ¤Öé

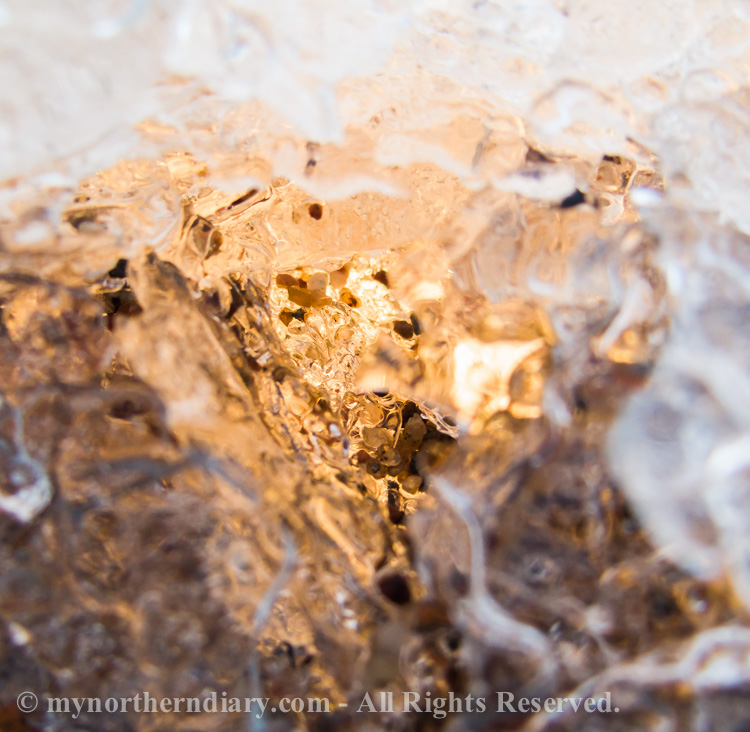
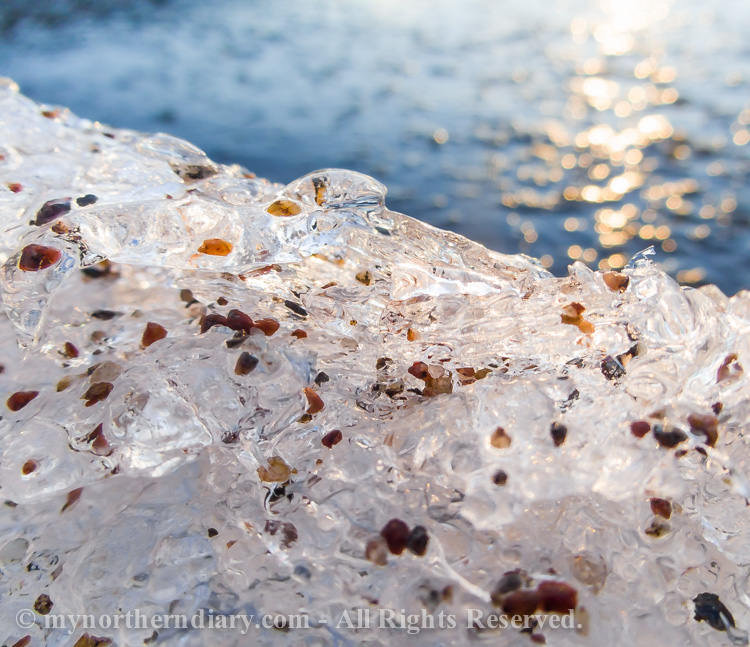


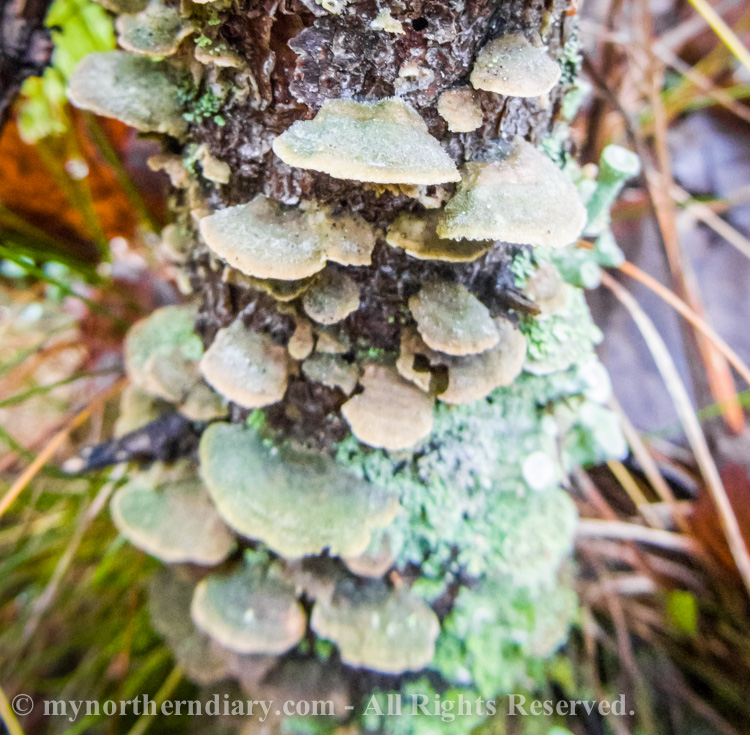


This is an old JPG photo I have rescued to Golden Gallery by the Lightroom.
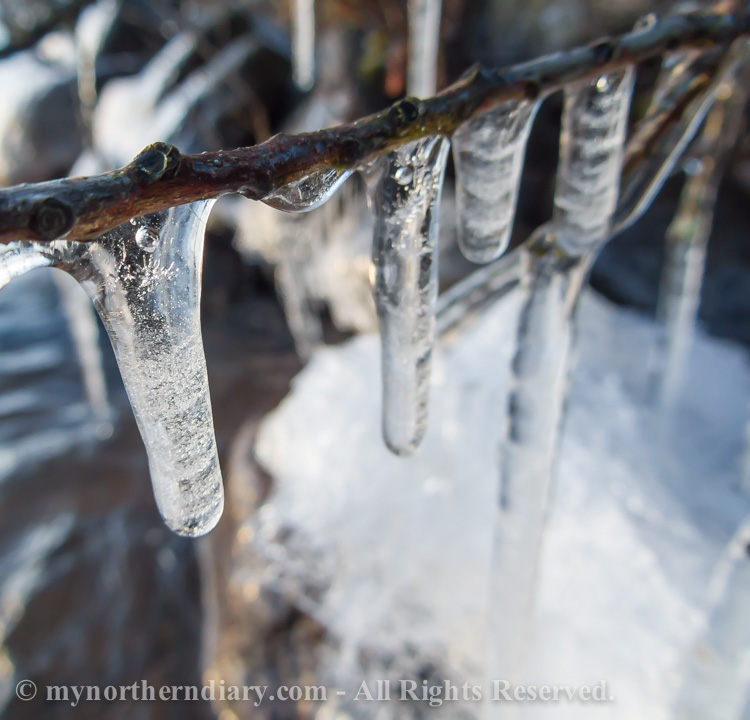
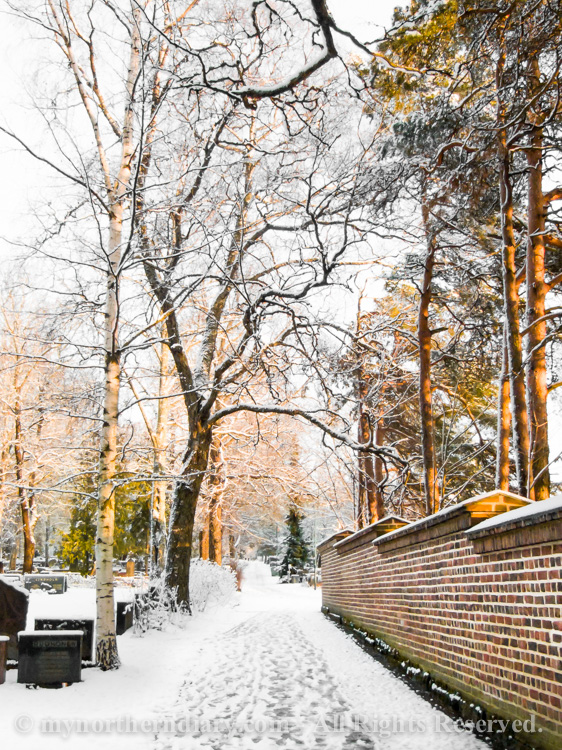
This is an old JPG photo I have rescued to Golden Gallery by the Lightroom.
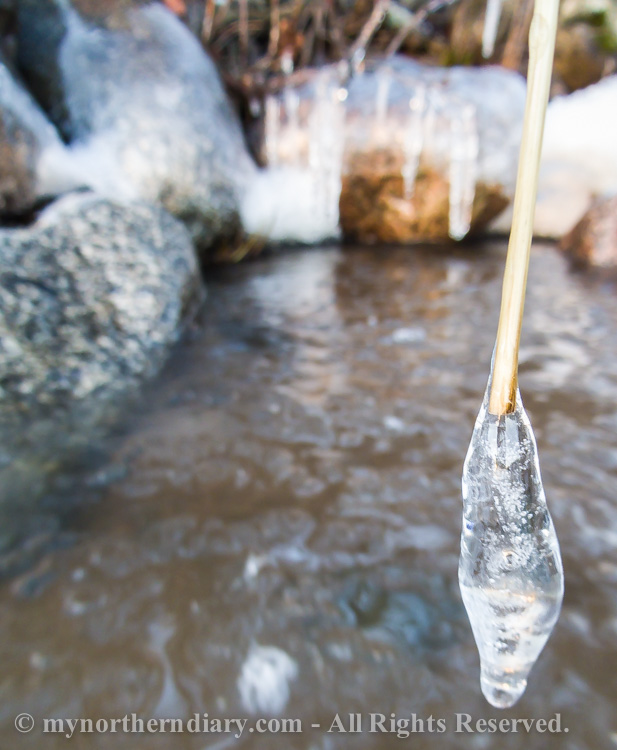
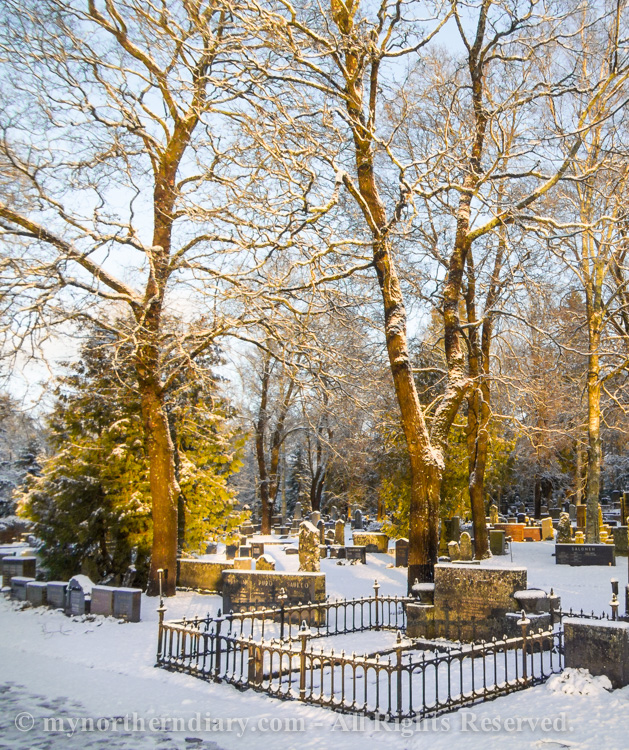
This is an old JPG photo I have rescued to Golden Gallery by the Lightroom.
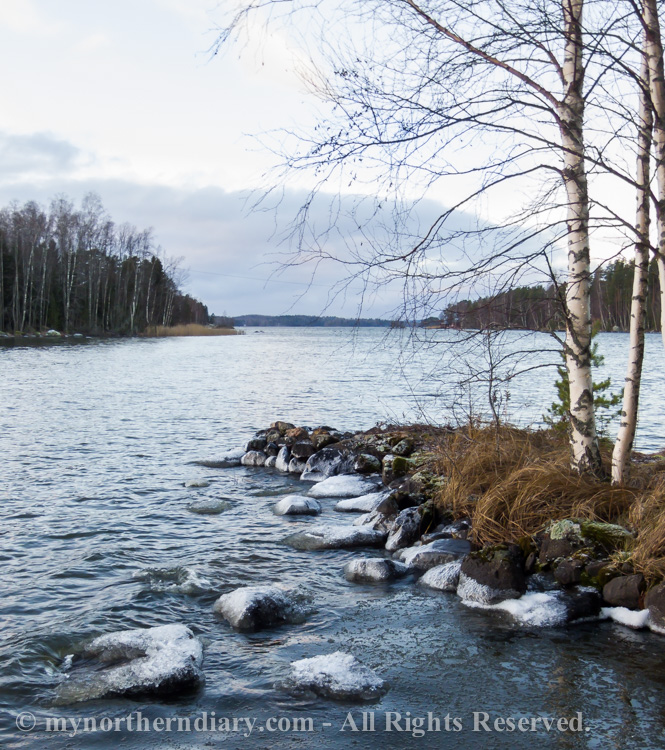
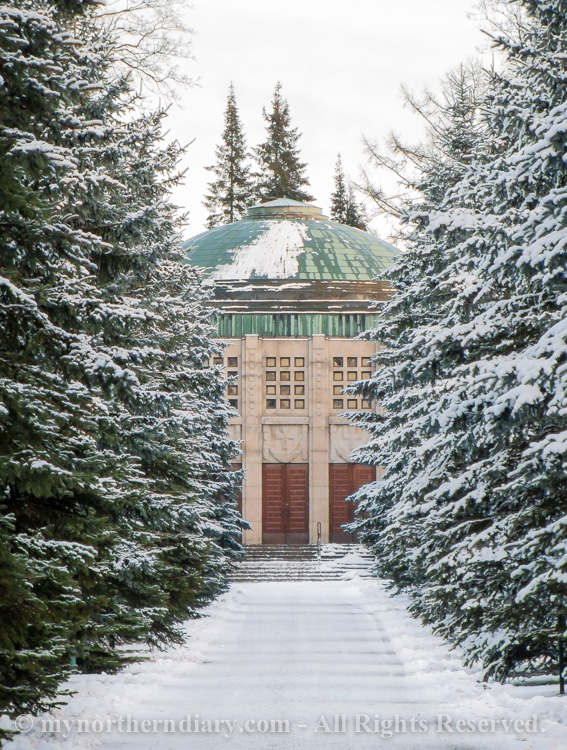
This is an old JPG photo I have rescued to Golden Gallery by the Lightroom.
This is an old JPG photo I have rescued to Golden Gallery by the Lightroom.


![]()


Adobe product screenshots reprinted with permission from Adobe Systems Incorporated.